Showing posts with label For the GiRLs. Show all posts

Thursday, March 24, 2011

Our PLaYrOoM

Remember clear back...oh, about a year ago...when I said I was working on sprucing up our playroom?  A YEAR ago! Where does this time go?  Well, with all of the spring cleaning (nesting) going on around here I was able to clean up enough to get a few pictures of the 'finished' room...still not where I would like it to be, but it will do for now.


The entire purpose of this room is to provide a place for my kids and all of their mess  toys.  This room is a bit separate from the rest of the house, it's a bonus room above our garage.  I love that they have their space to play and make their messes and (the best part) if I don't want to, I don't have to go up there and see that mess.  Out of sight, out of mind...I can choose to ignore it completely.

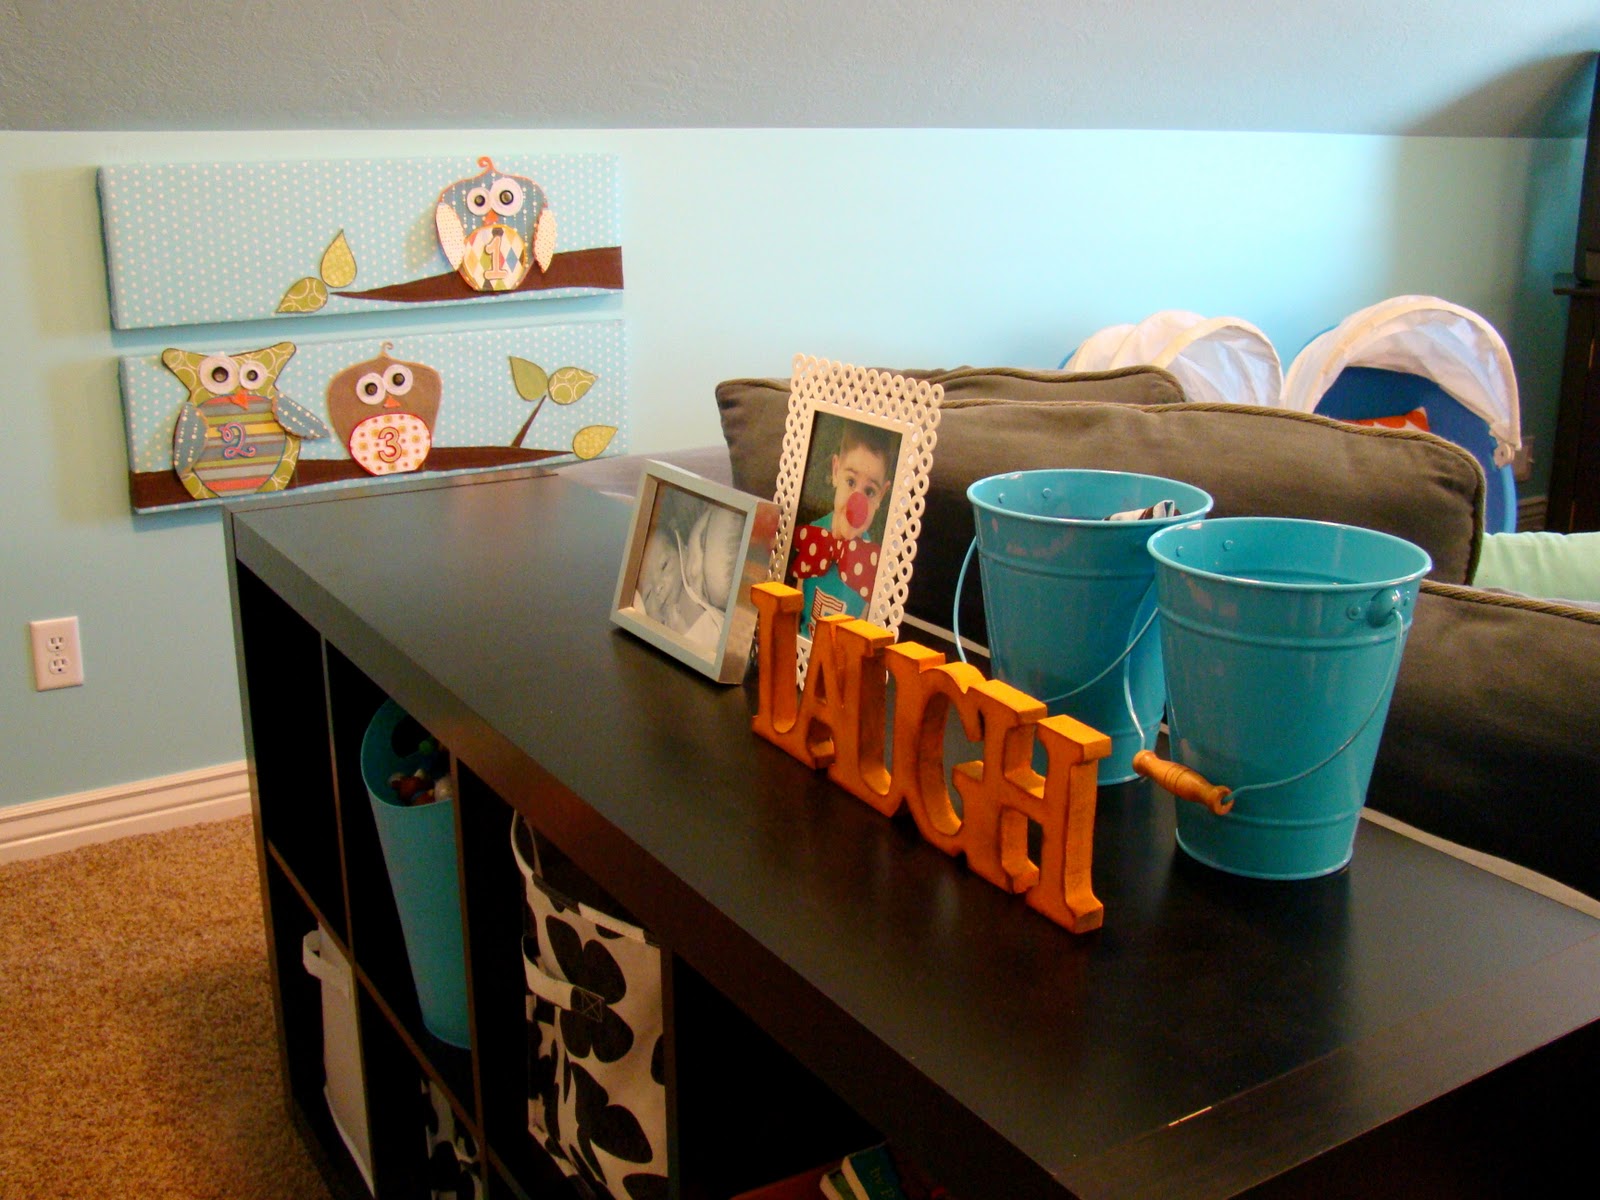
One of my favorite things in this room are my Ikea shelves.  They are the perfect place to store lots of stuff and help keep things looking organized and clean.  The big canvas storage bins work great to hide all the little nic-naks that need a place to be...they also are great to incorporate the colors of the room.  I found these at Walmart and Target.

When we painted, I knew I wanted to put chalkboard paint somewhere in the room.  We decided on doing a strip on the back wall...


I finally finished the ABC canvases that I talked about here.


Another good (cheap) storage solution: garbage cans.  I found the blue garbage cans on the bottom shelf below at Target for $2.50 each.  They're hard plastic and sturdy enough to handle my boys.


I found these paper mache letters at Joann's and covered them with scrapbook paper.


Also, talked about these owl canvases here.


And that's it.  Our playroom...on a good day. 
Believe me, it never looks like this!  Usually the carpet is not visible.


Wednesday, March 16, 2011

CraZy haIR DaY!

As part of spirit week this week at our elementary they had cRazY hAir day today.  Always a good day to express some creativity.  This was actually the second crazy hair day they've held at the school this year and last time I kind of forgot about it until last minute and didn't get as CraZy as I would have liked.  So this time my kindergartner was sure to remind me (over and over) that we needed to plan ahead this time, he was a bit disappointed in my lack of effort, I think.  Apparently people get into this.
So when I coincidentally I ran into this post a few days ago over at Bee in our Bonnet I got SO excited.  COULD NOT believe all the crazy hair!  So awesome, you MUST check it out!  Especially the girl hair!!
The InSecT inFeSted GraSs hair was the inspiration for us. 
Ours wasn't quite as fancy, but fun nonetheless.


I just used a little hot glue to stick the lizards to a hair clip, then clipped them right in there.  He tells me they stayed put until he had to take them out for gym.


He thought it was awesome to have "lizards eating his blue hair all day".  Hopefully I was able to redeem myself this go-round.


Fun and easy way to get CrAzy for the kids!

Monday, March 14, 2011

LuckY LePrechauN haTs


So it turns out that my kindergartener's school is having their spirit week this week and on Thursday (St. Patrick's Day) they're supposed to wear their craziest hats to school, along with their green.  So when I saw this post at Kiki Creates...well, there was no question...


I had to make two for my little leprechauns. 


I had full intensions of doing a tutorial on how I made mine...but then got too excited to get them done and totally forgot to take pictures of the process. So I'll do my best to tell you what I did...

Supplies you'll need:

1 sheet of felt in all colors...*except green you'll need 3 sheets
Sewing machine
Thread (could use coordinating colors, I just used white)
Ruler
 Scissors or Rotary Cutter

Back around Christmas time I made a bunch of these hats for snowman kits and used the same idea when making these leprechaun hats.  Only difference was that I had to piece together the tube part (the different colors of felt) of the hat.


Because I used the precut sheets of felt I cut 3" inch strips (2 of each color) then stitched them to together end to end making one long strip of each color (about 24" inched in length).  Next I lined up my long strips in the color order I wanted, overlapping them about a 1/4 of an inch.  Then I pinned each stripe in place.  I liked the look of one raw edge showing on the outside of the hat, so I went with that rather than having the seams all on the inside.  See pic below to get a better idea of what I'm talking about...


After that I sewed each strip together and ended up with one rainbowed panel. This is what I used  to make the 'tube' of the hat.  From there I just followed this tutorial to finish it up.  Although, again because I used the small sheets of felt I did have to piece together the brim of the hat.  To do that I cut out two half circles and stitched them together.  Also I made the measurements a bit smaller to fit smaller heads. 

So, for the brim I cut a 12" circle (or two 6" half circles)
and then cut a 7 1/2" circle out of the middle of the brim (the 12" circle)
My pannel for the 'tube' of the hat measured 22" long
And for the top of the hat I cut a 7" circle.

I hope that makes sense to someone.  Next time I will definitely take pictures!  Much easier to explain with a picture.
Anyway, If you can follow my crappy instructions, you might end up with something that looks like this...


Last step is to stuff it with a luCkY littLe LePreChaun.


It's funny, when you place them on their heads they can't help but do a littLe iRiSh jiG.


Tuesday, February 16, 2010

HAVE to make one of these!

When I first saw this I knew I was absolutely making one!


Nevermind the fact that I've never made a quilt in my life, let alone even know where to begin with one.  And then there is the whole needing a baby to make it for...  Regardless, I'm SO making one of these.  Thanks to V & Co for the tutorial.  She's made it easier for me to fake my way through this sewing project...don't tell anyone, but when it comes to sewing I really don't know what I'm doing still!  Totally faking it :)

Tuesday, February 9, 2010

fuN with fLoWers


I started making these little flowers and I just can't stop!  I'm putting them on EveRYthInG.  Pillows, shirts, necklaces, gift bags...even babies!!  They're fun.  And quite trendy at the moment.  Seems everyone is flowered up these days.  This all kind of started when a neighbor asked me one day if I thought I could make these silly, shabby, twisty (I don't know, what would you call them?) flowers.  She had been to a baby boutique and purchased a few and I almost dropped dead when she told me how much she paid.  Seriously!  Lots of $.  Hers were a bit more fancy than mine.  But I'm hoping to get fancier, I'm still practicing.  The possibilities are endless here, and people...DO NOT pay the boutique prices for these!  They are so easy to make and you can find tutorials ALL over the place (try this one)...making your cost a LOT less.  Go try them, have fun with these silly, shabby, twisty flowers.


On Pillows


On necklaces.  I made the blue one, the white one came with the necklace.


I was selfish and made myself a shirt!


These are great in place of a bow on packages (this one is a pin).


And of course, headbands.

Thursday, January 21, 2010

Sharin' Some LOvE {a GiveAwaY}


I feel like sharin' some love today.  But before we get to that...


The ScaLLoped LoVe BaNneR. We all know I  have a little addiction.  I've almost got one for every season now.  If you're interested in a tute, I found a few around the web...here...and here.  I made my scallops a little bit bigger and used ribon instead of bunting or fabric for the top.


Now, did I say something about a giveaway?  In honor of the season of LoVE, I thought it would be fun to share a little.  So here's what I've got.  I'm giving away an I {HeaRt} MoM (or DaD) tatoo tee/onesie or a LOVE tee/onesie (pictures below). 


boys I {heart} Mom onesie.


girls I {heart} Dad tee.


girls LOVE tee


All you have to do is pick which shirt you like best, then sign up to be a follower on the side bar (if you are already one that counts too) and leave a comment telling me what shirt design you want and what size.  Shirt colors and styles may vary from those pictured.  Depends on what I can find.  So there you have it.  Easy.  You share some love, I'll share some love.  Giveaway closes Monday at midnight.  I'll post the winner on Tuesday (next week).


Now if your looking to share a little love somewhere else.  Haiti sure could use some.


Craft Hope for Haiti on Etsy. Crafters around the world have donated their crafts and proceeds from their sells are going to Doctors without Boarders.  They have stopped taking craft donations for the next little bit, they've been overwhelmed, but I intend to donate a few items once they start taking them again...really one person can only have so many banners.  They've already sold 10,000 items and have raised over $20,000 (as of yesterday).  I loved this quote the had on their blog...

"A small body of determined spirits fired by an unquenchable faith in their mission can alter the course of history." --Gandhi

The shop is still open to purchase these donated items.  So go.  Shop.  Share some love.  And alter the course of history while you do it.

Friday, December 18, 2009

The GifT giVinG

Not a lot of time to chat.  Christmas almost here.  A bit of what I've been doing.  The gifts I've been giving.  Hope you're all enjoying the season of gift giving. 

the Neighbor Gifts
Started with this...


Crushed these...


Melted this...


Rolled it around...


Came up with these...


Found some of these...


And these (thank you dollar spot!)...


Searched the world over for some of this...


Printed some of these...


Wrapped it all up...


Delivered it all out.


In hopes that all would...


Activity Day GirL's Gifts
A little hoLLy pin.


Teacher (and whatever extra) Gifts
A FrOstY tReat (they're candybars)


Edited to add:  These are also fun to do with Whoppers and Milk Duds...these will actually stand up on their own.


Merry Christmas to all, to all...good night.