Showing posts with label HomE deCoR. Show all posts

Thursday, March 24, 2011

Our PLaYrOoM

Remember clear back...oh, about a year ago...when I said I was working on sprucing up our playroom?  A YEAR ago! Where does this time go?  Well, with all of the spring cleaning (nesting) going on around here I was able to clean up enough to get a few pictures of the 'finished' room...still not where I would like it to be, but it will do for now.


The entire purpose of this room is to provide a place for my kids and all of their mess  toys.  This room is a bit separate from the rest of the house, it's a bonus room above our garage.  I love that they have their space to play and make their messes and (the best part) if I don't want to, I don't have to go up there and see that mess.  Out of sight, out of mind...I can choose to ignore it completely.

One of my favorite things in this room are my Ikea shelves.  They are the perfect place to store lots of stuff and help keep things looking organized and clean.  The big canvas storage bins work great to hide all the little nic-naks that need a place to be...they also are great to incorporate the colors of the room.  I found these at Walmart and Target.

When we painted, I knew I wanted to put chalkboard paint somewhere in the room.  We decided on doing a strip on the back wall...


I finally finished the ABC canvases that I talked about here.


Another good (cheap) storage solution: garbage cans.  I found the blue garbage cans on the bottom shelf below at Target for $2.50 each.  They're hard plastic and sturdy enough to handle my boys.


I found these paper mache letters at Joann's and covered them with scrapbook paper.


Also, talked about these owl canvases here.


And that's it.  Our playroom...on a good day. 
Believe me, it never looks like this!  Usually the carpet is not visible.


Monday, March 7, 2011

the Nursery


Okay here it is, for those that have been waiting...if there really were any of you out there...the BiG reveal.  Can I say I'm feeling a little nervous and a bit of pressure!?  First let me disclose that the room is still in a state of being 'sort of finished'.  But really, is the decorating ever completely FINISHED...not around here.  There are a few things I would like to try and include before baby comes, like a rocker of some sort and maybe a chandelier...if I ever find what I'm looking for (if you have ideas where to find either, please do share!!).  But for now it is as done as it's going to get.


The main project of this room was the board and batten treatment we did on the walls.  Initially getting the boards on the wall went pretty quick and without too much trouble.  We, like many others of you who have board and battened, went to the Home Depot and had the MDF cut...relieving much of the time and work that could have been spent.  After that we spent one weekend gluing, nailing, and painting.  If it weren't for the custom made trim and the finish work we could have had it all finished up in one whirlwind of a weekend.  Unfortunately making your own trim from scratch (couldn't find precut trim that I liked) and puttying and sanding then not liking the results and having to reputty and resand (3 or more times!) does take some time to accomplish.  Needless to say, it did get done and I LOVE the results.
I should probably take a moment here to mention that I really had little (okay, nothing) to do with all the labor that was involved in the making of this room.  That credit all goes to the hubs and my dad who put up with me and my 'ideas' through the entire project.

Okay, so on with the tour...
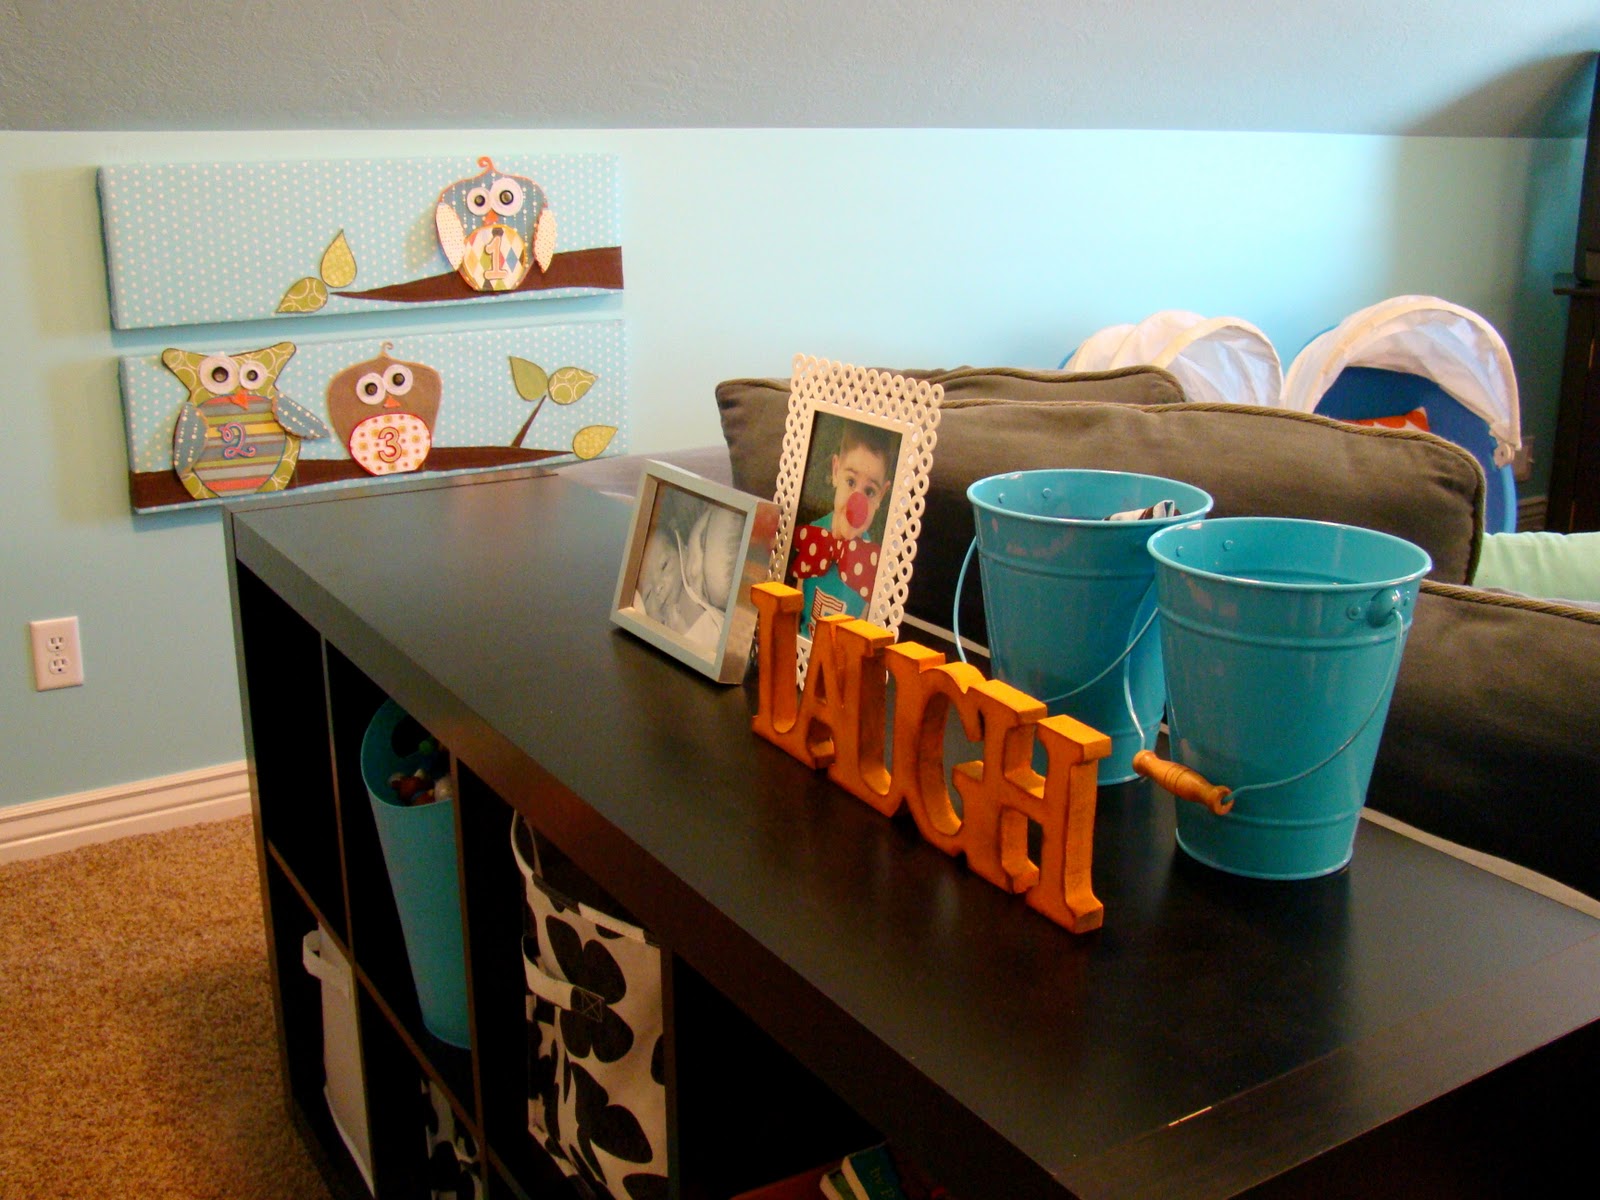
The paint color I chose for the upper wall is Glass Tile by Valspar.  Yes it is a bluish color.  And yes it is a little girl's nursery.  The one thing that my dad voiced his opinion on.  But you can see how much I listened...


The birdie canvas is from Pier 1 Imports and lamps I moved from another room (I found them at Hobby Lobby a few years ago).

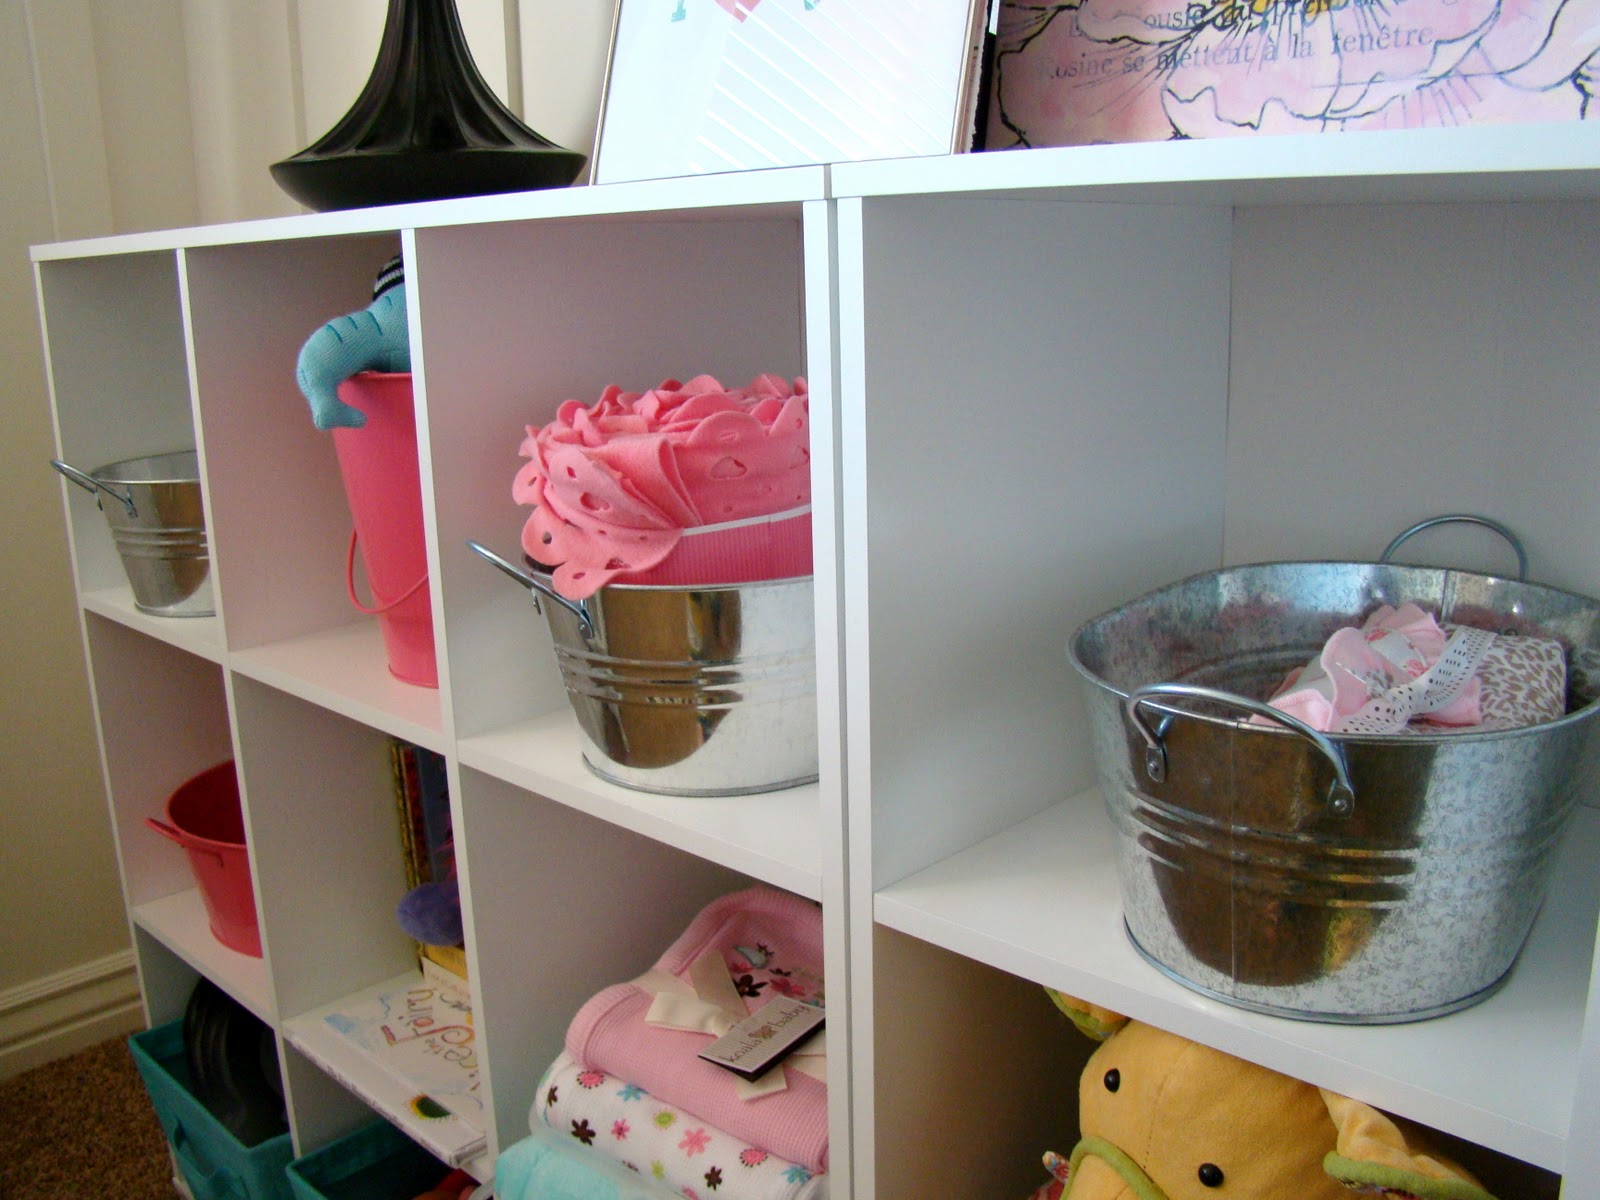
I've been collecting different containers and buckets over the last few from all over to put on the cube shelves.  Most of these buckets are from Target's dollar spot and the canvas bins I found at Walmart.


I made these create paper balls last year for another project.  Thought they fit in the room nicely.


Because there is a lot of different patterns going on in the room with the bedding and different fabrics I couldn't decide what I wanted to do for curtains and finally ended up with plain old white panels...er, sheets.  That's right, $4.00 Walmart flat sheets.  Add a few curtain hooks and little fluff...you have very inexpensive drapes.  And later on if I find something I like better I won't feel guilty about spending the $. 


The furniture is all recycled from the basement and has already survived two little boys.  I did, though, add a little fabric to the fronts of the drawers (just stapled it right on there) and added new knobs from Hobby Lobby to fancy up the dresser/changing table.


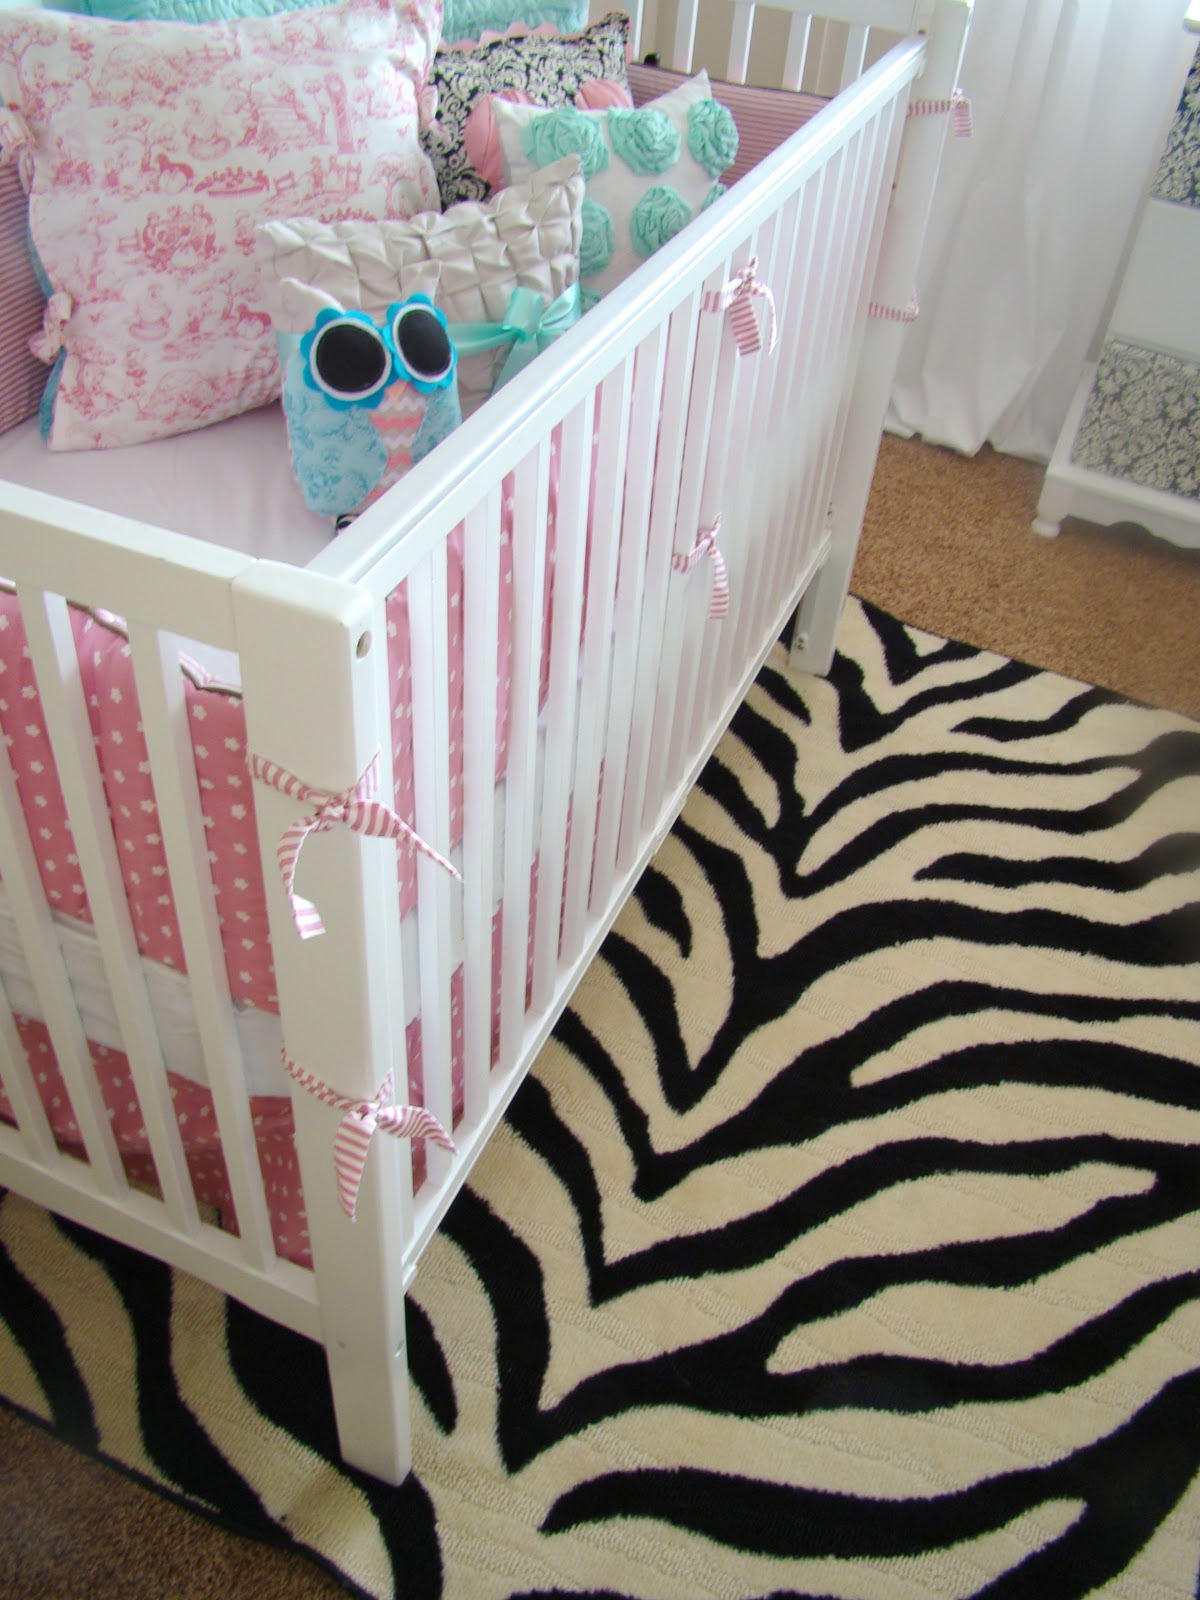
I've already mentioned the deal I got on the bedding once before...but for those who missed...I found the bumper pad and bed skirt for $8.00 a piece on clearance at Target a while back.  Then I made a few pillows to coordinate and tie in all the colors of the room.


I used some of the same fabrics from the pillows to make a pennant banner...I can't get over these!


The chandi art I found at Real Deals.


Can't get over the pom poms either...made these from tissue paper.


This little table used to be navy blue.  Looks much better covered in Glass Tile I must say.  I'm thinking she needs a cute little lamp to go up top.


I borrowed the zebra rug from the playroom (originally from Walmart).  Still trying to decide if I like it in the room or not.


And there ya have it...all ready for a baby, preferably a girl one.
Now that it's done I can focus on the less important things, like finding a car seat and other basics that have yet to be purchased...in my world decorating comes before the essentials.  Priorities. 


Tuesday, January 25, 2011

pillows.


So the trim has yet to be put up (can't show you the walls we fancied up quite yet), but I couldn't wait to get the crib up and start putting things together a little.  I've been sewing a bit.  And by bit, I mean pillows...that's about as tricky as I get at this point.  So, NO.  I did not make the rest of the bedding...so wasn't ready to branch that far out!  Sewing still scares me quite a bit.  But pillows yes.  I can do pillows.


And before I get nasty emails/comments...they are purely for decorating purposes.  I will fully and entirely remove any suffocation device before placing baby in the crib.  Thanks for your concern, though.

Okay, so I've seen SO many cute pillow ideas floating around out there and have been dying to whip up a few.  Starting with this twisted flower pillow...


Now, I haven't got a tutorial of my own for you...cause really I just made it up as I went, that and...I'm so not qualified to be telling you such stories.  I did, though, find this tute (after the fact) that is probably a much more sophisticated way of doing it than my way.


And while I was there I also found this awesome tute on how to make pin-tucked pillows! So I had to try. And can I say...I'm impressed with myself?!


Never mind that I started with a too small piece of fabric and had to do a little piecing together (hence the ribbon and bow)...I still think it looks like I might have known what I was doing when I put it together :)


Now this one I came up with on my own...I do do that from time to time.  I've always loved pillows that tie on the side.  Everything looks better with a bow, doesn't it?  I also love the look of having a mismatching fabrics on front and back.  So I gave that all a go and came up with this...


Found this cute fabric at Hobby Lobby and thought the nursery rhyme theme was PerFeCt for a nursery!  So I didn't add anything to the front as not to distract from the Cat and the Fiddle and Humpty Dumpty.  How fancy to have a pillow that you can read!


 And finally.  My attempt at a 'stuffed animal'.  Certainly not my best work.  But it was fun to attempt anyway.  It took a bit more effort than I was hoping for and I ended up improvising quite a bit (hot glue!).  Maybe next time I'll look for a pattern rather than trying to fib my way through.


Now let me tell you about the bumper pad and crib skirt.  I bought this set about a year ago (Target clearance).  Are you doing the math?  Yes.  Before there was a baby...and way before it was known to be a girl.  I know I'm crazy like that...let me explain.  $8.00.  Yes sir.  I paid $8.00 for the bumper and $8.00 for the crib skirt!  For a grand total of...$16.00.  And in looking at bedding sets over the last few, I've realized that's quite a DeAL.  I wasn't sure how I was going to make it work, because it wasn't exactly what I was going for.  But again, $16.00.  I figured I would make it work.  Adding the pillows and mixing and matching the fabrics has helped to make the look I was more going for come together.


I do have a few things I would still like to do before we're finished up.  For instance...see that big blue ruffled pillow in the back?  Didn't make it, but found a set of two at TJ Maxx for about $10.  I have BiG plans for a quilt for the second sham.  We'll see if I have to break out the hot glue for that one.  Wish me luck.


NoTe:  As I'm getting ready to post this I'm thinking to myself...I wonder if there is really AnYOne out there who could possibly care this much about stinking pillows.  Really quite a lengthy post on such a subject.  I apologize.

Monday, January 24, 2011

More {LoVeLy} Prints


I can't stop myself.  I have quite the collection of V-daY prints going on.
I've been inspired by others out there in blog land and made up a few of my own to share...


They look great in frames...


Or if you don't want to decorate with them, shrink them down and use them for Valentines!


Found the Keep Calm print here.